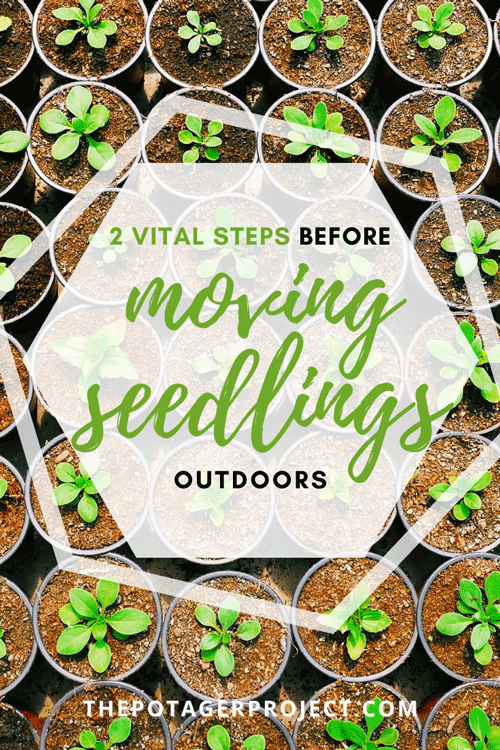
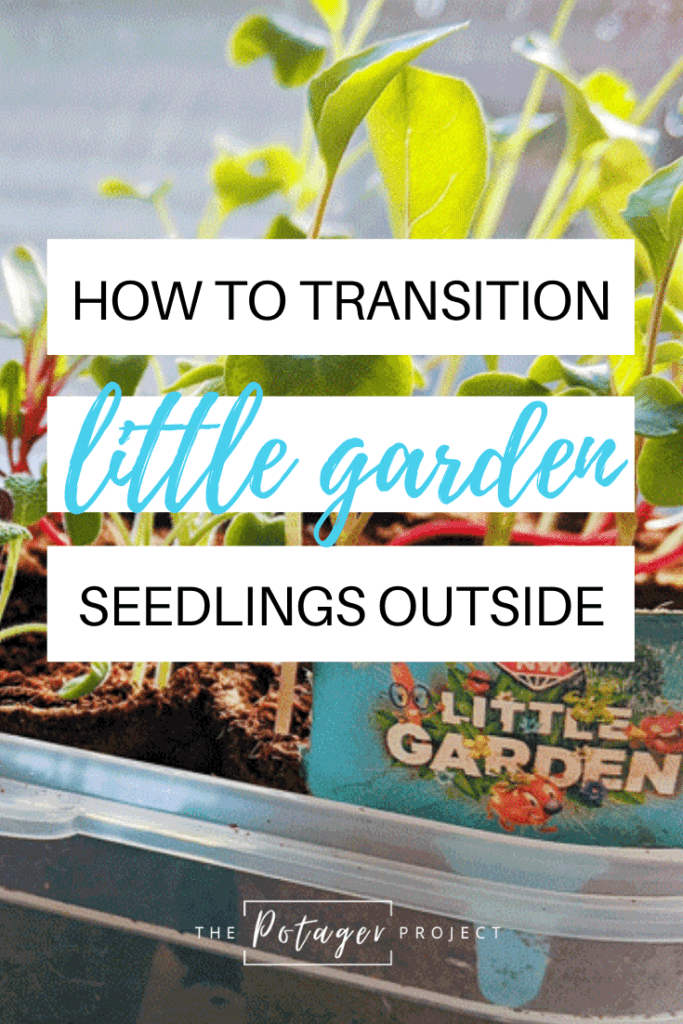
In this article, I’m going to walk you through the process of transitioning your vegetable seedlings into your outdoor garden. For those of you who’ve been enjoying the New World Little Garden seedling promotion, I’m going to cover the importance of repotting your seedlings into bigger pots, then allowing them to go through a ‘hardening off’ period, before planting them outdoors.
This article contains affiliate / compensated links. For full information, please see our disclaimer here.
Why do I Need to Repot my ‘Little Garden’ Seedlings?
First of all, I want to congratulate you on growing your own seeds! It brings so much satisfaction doesn’t it when you see your little seeds pop their heads up through the soil!? Even now after many years of gardening, I still marvel at the miracle of a little seed turning into a full-grown plant.
You might be thinking, “surely transplanting seedlings is just a case of moving them from their seed pots into the garden?” Well yes, but there are a few vital steps to do in between before setting your babies loose in the big wide world! Reason being, moving seedlings from a protected indoor environment into the great outdoors can cause plant shock; plants may wither, be stunted in their growth or simply die.
If you think about it, all their life these seedlings have been nurtured in a sheltered, warm, well-watered environment. Suddenly they’re subject to cool nights, blazing hot sun and wind – I’d be tempted to shrivel up too!
Two of the key ways to prevent plant shock is to make sure your seedlings are big enough to transplant before moving them outside, and allowing them to go through a ‘hardening off’ period first. Read on to find out how to do this.
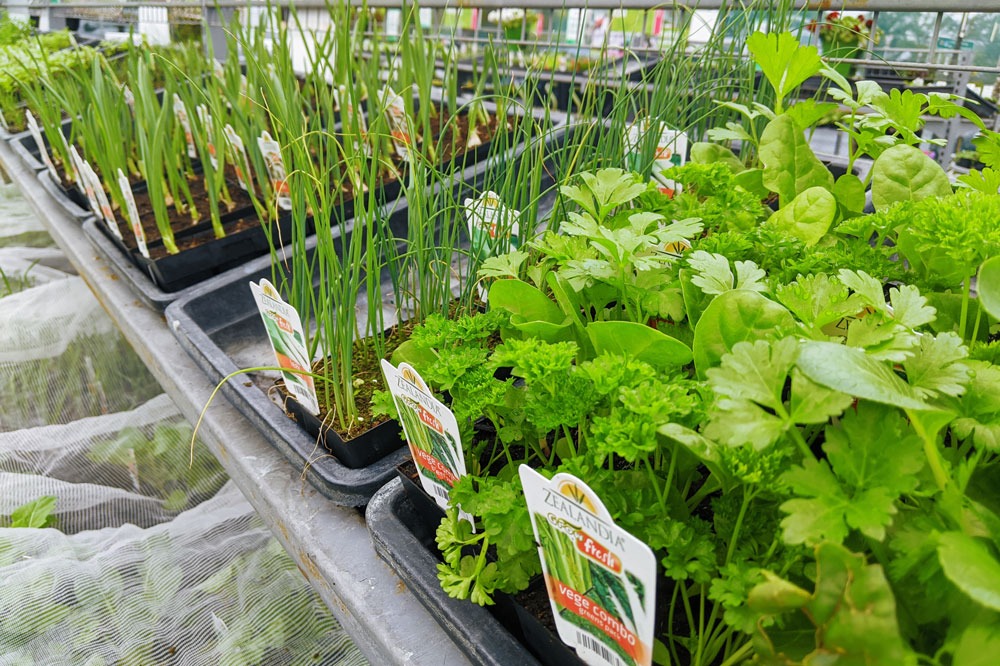
The New World ‘Little Garden’ Initiative
I love the New World Little Garden initiative! It’s a great way to encourage kids and adults alike to get excited about the process of growing their own food. Not only does it teach kids how plants are formed, but encourages them to remember to water and look after their Little Garden to reap the rewards!
If you’re not sure what I’m talking about, New World supermarkets in New Zealand have been giving out ‘grow your own garden seedling kits’ to customers when they spend over a certain amount in store. The kits contain a small biodegradable seedling pot, a seed mat with one type of seed, a soil tablet (that expands once water is added) and a pot marker. A super easy and engaging way to get kids involved in growing veggies.
Well done if you’ve been taking part in this promotion and been growing your own seeds! My daughter and I have been growing ours on the windowsill and now they’re definitely big enough to transplant.
As you may have already observed, the little soil tablets provided in these kits only have so many nutrients. With so many little plants in one pot, your plants will start competing for space and food. So let me talk you through the process of transplanting your seedlings using our Little Garden as an example. I’ve also created the demonstration video below so you can see how I do the whole process.
How do I Know if My ‘Little Garden’ Seedlings are Big Enough to Repot?
With so many seeds in the Little Garden pots, they quickly grow and start competing for space. If you’re like me and not willing to pluck out the smaller plants and let only the strongest survive, the best thing to do is split the seedlings and transplant into bigger pots.
The second thing to look for is whether your seedlings have developed their ‘true leaves’ yet. When a seed first germinates, these leaves are the plant’s ‘baby leaves’ which will eventually fall off after its next leaves, the ‘true leaves’, form. So the key here is to ensure your seedlings have at least 4 established leaves before you consider repotting.
Note that your seedlings are still too small to plant outside. To ensure the best chance of survival, you want your seedlings to grow big and strong before ‘hardening them off’ and moving them permanently outdoors.
How to Transplant Seedlings into Bigger Pots
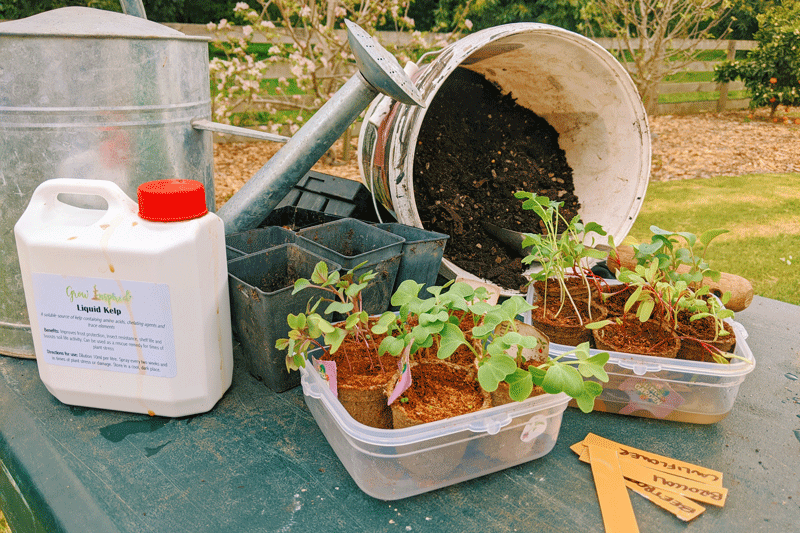
What You’ll Need:
- A selection of larger pots to transplant your seedlings into. You can be creative here and use recycled seedling pots that you find around your home; as long as you’re able to poke some drainage holes in the bottom (this will help prevent diseases such as root rot). Simply looking through your recycling bin will yield a variety of containers you could use; plastic strawberry containers, cardboard mushroom trays, styrofoam or plastic cups, ice cream containers, any food container really that has a reasonable depth to allow the roots of the plant to grow deeper. If you have bought seedlings from the garden centre before, these trays are perfect to reuse in this instance.
- Ice block sticks or a cut-up ice cream container lid to create labels.
- Permanent marker pen
- Good quality potting mix (organic is preferable)
- Hose or watering can
- Seaweed or Kelp Mix (optional)
- Spoon
How to Repot your Vegetable Seedlings
- Wet your potting soil. Water well and mix thoroughly until the soil is damp but not sodden.
- Prepare the new pots you are planting into. Poke several holes in the base for drainage, then half fill the pots with potting soil using a spoon.
- If your seedlings are in pots (plastic or biodegradable) like the Little Gardens, I’d recommend soaking the pots in a seaweed solution at this point to give the plants a real nutrient boost and prepare them for the move.
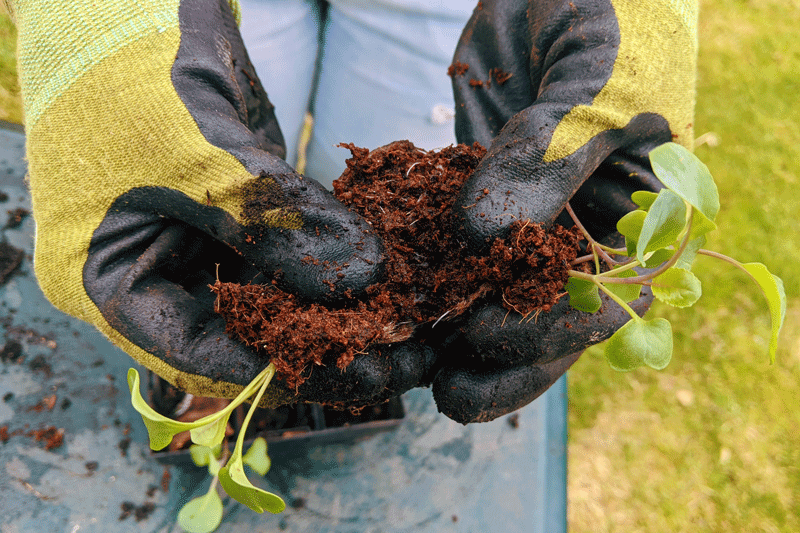
- Carefully break apart the sodden biodegradable pot (or dig out with a spoon). The most important thing is to be very careful not to disturb the roots. It’s best to keep a ball of soil around the roots so the move is as gentle as possible. Using the end of a spoon can be a helpful way to pry the plants out without disturbing them too much. If the plants have woven their roots together, just try and be as careful as possible when pulling them apart.
- Hold the plant in the pot and carefully fill around it with more potting mix; push down gently so it holds firm.
- On your ice block sticks or cut up lid, write what each seedling is so you’ll know what they are.
- Water well and feed with organic seaweed mix or kelp to give the plant a boost in its new home.
- Keep indoors or in a greenhouse until the plants are big enough to transition outside.
Gardening Tip: If your seedlings have grown long and stretched, when you repot, plant them deeper so the potting mix comes halfway up the stem.
When are my Seedlings Big Enough to Transplant Outside?
When you notice your seedlings are looking strong and healthy with lush green leaves; it’s time to prepare them for the outside world (sounds awfully similar to raising children doesn’t it?)
The important thing here is not to put them straight out in the weather without any warning. Seedlings grown indoors need to go through what is called a ‘hardening off’ period first. This helps them climatise to the change in temperature, wind and rain.
Tips for Transplanting Seedlings Outside
1. Reduce the Number of Times you Water
Once your seedlings are planted outside, it’s very unlikely they’ll be watered as well as they were indoors. A couple of weeks before the move, it’s a good idea to start reducing the number of times you water.
Allow the plant to get to ‘wilting point’ where the leaves start to droop; water and repeat the process. Ensure you don’t let the plant wilt for a prolonged period of time or it may harm the plant Vegetable Seedlings.
There isn’t a lot of soil in the Little Garden seedling pots so it doesn’t take long to get to wilting point.
2. ‘Harden Off’ Your Seedlings
This process should be done over 7 – 10 days. For your summer garden, do this once you’re sure the last frosts have passed and the evenings are warmer; above 10 degrees Celsius at night.
Begin by moving seedlings into a shady spot outdoors for a couple of hours a day, then bring them back inside. Repeat this process over the next few days, increasing the amount of time they spend outdoors by an hour each day.
After 4 or 5 days, choose a partially shaded spot or a place that gets the morning sun. Remember to move them back into the shade in the heat of the day to prevent leaves from being scorched.
After 7-10 days your babies should be ready to be planted outdoors, Vegetable Seedlings!
3. Choose the Right Spot to Plant Your ‘Little Garden’
Choose a nice sunny spot in the garden or pot on the deck to plant your seedlings. Be mindful of the space you need to allow between each plant (consider how big their produce is as a guideline). For a full rundown on how to plant a Vegetable Seedlings garden and garden ideas, check out my beginner’s guide to growing vegetables.
The ideal time to plant your seedlings is either in the morning or evening of a cloudy day. Once planted, give them a good water and feed of kelp or seaweed mix to help establish their roots.
For the first couple of days, water your seedlings daily; extend this to every 2-3 days depending on how hot the weather is and the time of the year.
You’re Done Transplanting your Seedlings!
Just like that, you’ve set your babies free in the big wide world to grow and flourish on their own! Congratulations on successfully transplanting your seedlings.
Aside from remembering to water your plants regularly, and giving them a feed of seaweed every couple of weeks, you should soon be enjoying the fruits of your labour and cooking them up in your favourite recipes!
I hope you’ve found this article helpful, especially those of you who have been growing your first Little Gardens. I would so LOVE to see pictures of your homegrown seedlings or Little Garden NZ! Please feel free to share them with me on The Potager Project Facebook page or comment below.
Happy growing!
P.S. If you’ve now got the ‘seed growing bug’ and looking for organic heirloom Vegetable Seedlings NZ, I can recommend Kings Seeds. You can browse their selection online, add to cart and they’ll be delivered to your door (FYI as well as Vegetable Seedlings and herb seeds they also do flower and lawn seed).

About the Author
Elle Reed is a passionate gardener and advocate for teaching beginner gardeners how to grow their own food. Elle’s mission is to inspire and empower people to get back to basics, grow their own produce, and embrace a sustainable lifestyle. “Whether it’s a few herb pots in an apartment, a potager or a full garden plot, we can all ‘start somewhere’ to grow our own food, and in doing so, provide healthier food for ourselves and those we love”.
Inspired? Pin it!