Have you considered that the best compost for growing vegetables can be free as well as beneficial for the environment? Starting your compost at home is not a tricky task; I’d go so far as to say anyone can do it! In this article, I am going to cover composting 101, so by the end, you’ll have all the knowledge you need to create the best homemade compost for vegetable gardens.
I understand that sometimes it’s necessary to purchase compost, so I’ve also included a guide below on what to look for when it comes to buying the best compost for growing vegetables.
This article contains affiliate / compensated links. For full information, please see our disclaimer here.
First things First…What is Compost?
Put simply, it is the natural recycling of organic matter into valuable nutrients for your garden soil. Not only is composting hugely beneficial for your veggie garden but also for the reduction of waste.
I remember watching a documentary once that stated that the disposing of organic waste into landfills should be a crime because the earth’s soil so desperately needs it!
Composting is one of the simplest ways we can recycle our unavoidable waste, that in return helps us in Compost for Growing Vegetables!
Before we go any further, one of the deciding factors on whether or not you can create your own compost bin is if you have an outdoor space to hold one. For those living in an apartment or small space, I highly recommend Bokashi Bins as an excellent alternative.
The Benefits of Composting
- Composting is an important way to recycle organic matter in your home and garden with the help of oxygen
- It doesn’t release harmful greenhouse gases into the atmosphere like it would if buried in a landfill
- Results in free compost for gardening
- Introduces lots of beneficial microbes and worms that are excellent soil conditioners and help make the best compost for garden beds.
How to Create the Best Compost for Growing Vegetables
1. Choose a Compost Bin
There are many different types of compost bins to choose from including the option to build your own. I have always gone with the tall tower approach with the bottom access flaps. Feel free to check out the various options for choosing a composter that’s right for you.
2. Select a Spot
Choose a sunny spot for your compost bin that is easily accessible to the house and tap, but not so close that any undesirable smells might be a problem.
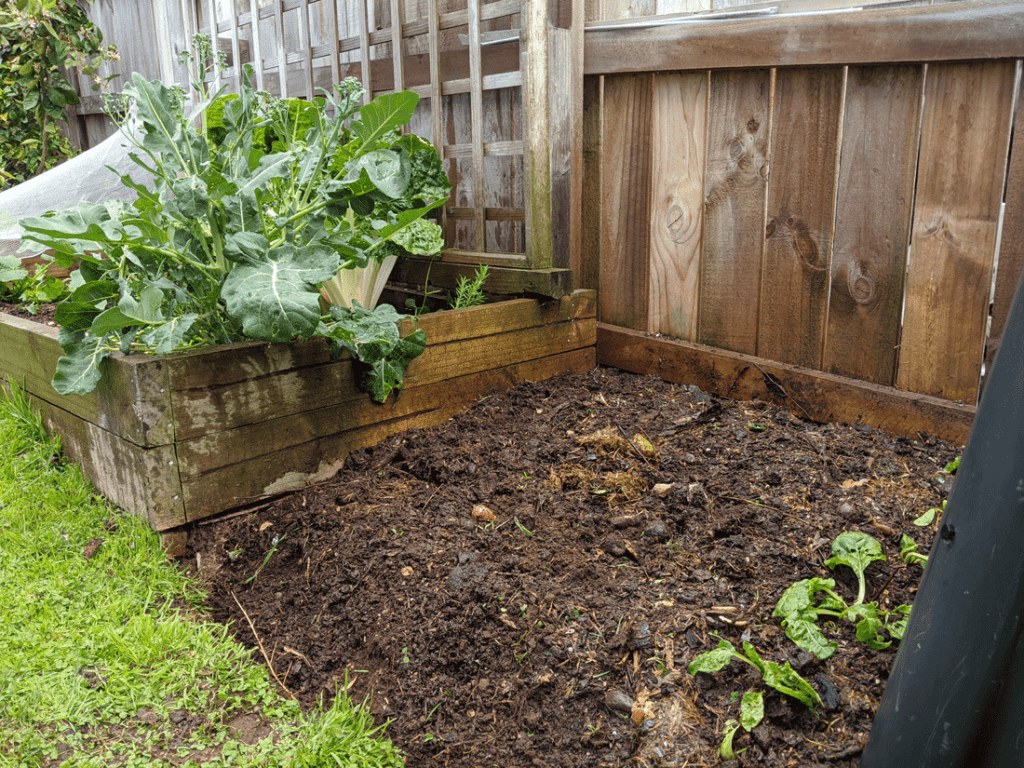
I like to position mine right beside my veggie garden (most of the time actually in it!) so when it comes time to use, I simply lift the bin off and rake it evenly across the garden bed before tilling.
Always try to situate your compost bin on the soil to allow beneficial microorganisms to come up from the soil to aid with the composting process.
For a detailed overview on choosing the ideal place to setup your compost bin, checkout my article on 11 factors to consider when deciding where to place a compost bin.
3. Make a Club Sandwich
The easiest way to picture how a compost heap should look is by imagining a sandwich of brown and green layers. The ‘bread’ is the thickest layer and ‘fillings’ the thin layers sandwiched in between. Now before you think compost fumes have been messing with my head, let me explain…
The brown layers I am referring to are carbon and the green layers are nitrogen; a compost heap needs a good blend of both to decompose properly and form a rich compost you can apply to your soil.
Carbon:
- dry leaves
- sticks
- mulch
- paper
- torn up newspaper & cardboard
- dead plants
- prunings
- egg cartons
Nitrogen:
- all fruit & veggie scraps
- coffee grounds
- eggshells
- tea leaves and tea bags
- lawn clippings
- bread
What to avoid:
- animal faeces
- diseased plant material (to avoid spreading disease)
- dairy products
- oils & liquids
- meat and food scraps (these attract unwanted pests)
If you are looking for a great way to recycle food waste, check out my article on Bokashi Bins.
How I Recycle it All
My bokashi bin I use for leftover food scraps and smaller organic waste.
This combination works brilliantly, producing the best compost for a garden. Plus I feel great knowing that no organic materials from my household end up sitting in a landfill.

You might be surprised that you can include these things in your compost:
- Torn up newspaper or cardboard (e.g. toilet paper rolls)
- Compostable food packaging (torn up)
- Pet fur
- Hair
- Dryer Lint
4. Build your Layers
At the bottom of your compost bin, add a layer of carbon/woody refuse (such as large sticks or twigs) to create some airflow and then alternate between green and brown material. Part of the reason for sandwiching the green layers between carbon is because these are the smelliest layers. The carbon helps to reduce any unpleasant smells.
The recommended ratio of brown to green material is 60:40 as the brown matter helps to neutralise the smell. As you can imagine it’s pretty hard to be exact, so what I do is troubleshoot when needed and in the meantime just keep adding to the pile.
At the end of this article, you’ll find all of my troubleshooting tips.
5. Add Water When Needed
You want your compost to have the consistency of a damp sponge. In between each layer or whenever your compost is looking a little dry, sprinkle some water over top.
6. Aerate Regularly
This will determine how quickly you’ll have usable compost.
Because composting is an aerobic process (uses air), by stirring or turning your compost regularly with a pitchfork, you are enabling more air into the mix over time, thereby speeding up the process.
There is no set rule as to how often you should turn compost piles, some people aerate every few days, others every couple of weeks. A good guide would be to do this weekly.
Expect compost to be ready anywhere between 2-8months. If you’re aerating every couple of days rather than weeks, then you’re likely to reap the benefits in 6-8 weeks. It’s totally up to you but either way, you’ll eventually get to the end goal.
When the compost has a dark brown, earthy smell and no longer resembles its ingredients, that’s when it’s ready to use.
7. Using your Compost
This is when it is handy to have a compost bin with bottom flaps – so you can see whether or not your compost is ready. If you’re like me and don’t get around to turning your compost very often, then the bottom half of the bin will be much further along than the top.
Like taking the bucket off a sandcastle, remove your bin and set it in a new location. Using a fork, move the top half of the material back into the compost bin to start a new compost pile. What’s left is the BLACK GOLD! This is truly the best compost for Compost for Growing Vegetables!
Using a spade, turn it through your vegetable bed before you plant your new season’s crop to give your vegetable seedlings the best possible start.
And just like that, the cycle is complete!
Make it Easy for Yourself!
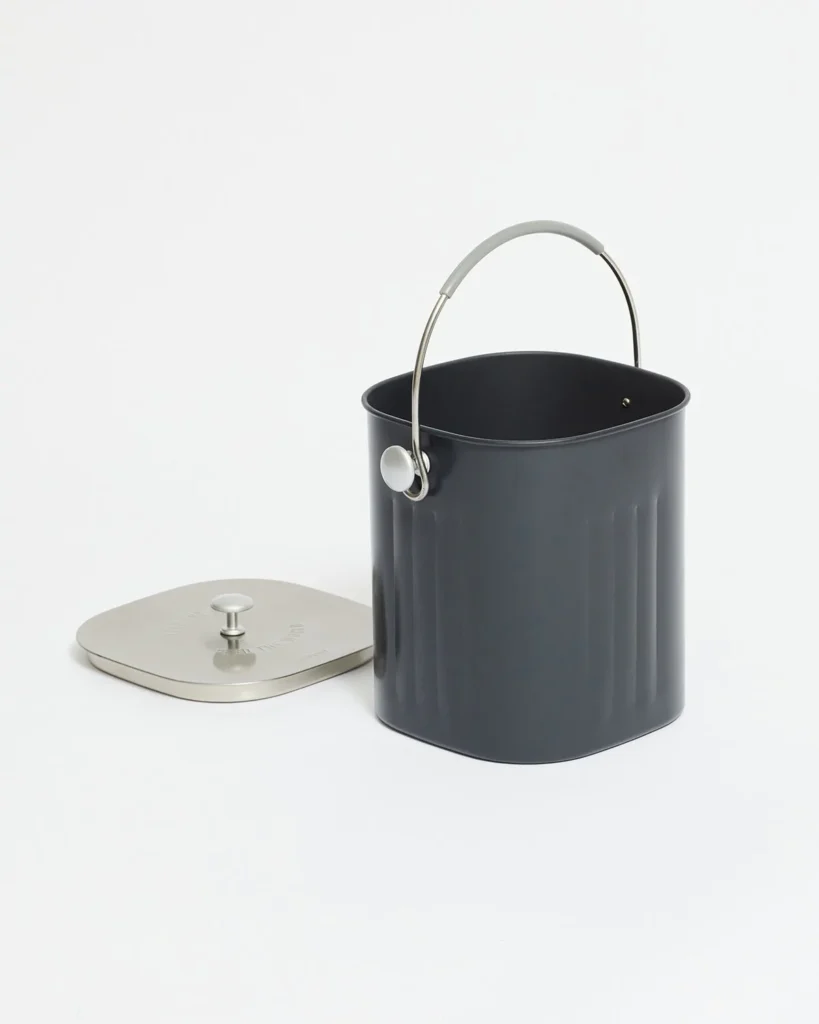
For me, it’s just not practical to go out to the compost bin every day, so I have a compost caddy like this in my kitchen that fills up every 2-3 days before having to be emptied. Do what you have to do to make your setup work!
If you don’t have time or forget to aerate your compost bin, don’t stress, either choose a bin to suit your needs (such as a tumbler) or just be content with the fact it will take a couple of months longer to turn into compost.
The Best Compost for Compost for Growing Vegetables: How to Amend the Soil
It’s worth noting that to get the best out of your veggie garden, it’s important to till new garden compost through your vegetable gardens or raised beds rather than simply spreading it over the top soil or potting mix. Tilling the compost changes the soil structure; enabling the nutrients, microorganisms and organic matter to be distributed evenly throughout the soil.
By tilling the soil you are also aerating it, enabling plant roots and water (and therefore also minerals) to travel easily through the soil.

A Few Composting Pointers to Remember:
- Don’t add any food products, oil, liquids or animal manure to your compost bin as this will attract rats and other pests or encourage the growth of pathogens. For food scraps, this is where a bokashi bin comes in handy.
- Never add weeds to your compost bin as this will cause them to sprout up everywhere you disperse your compost! Only add weeds that are well and truly dead.
- Homemade compost should be moist (like a damp sponge) but not wet. If it’s too wet this can cause the growth of pathogens in your compost. The best way to manage this is to keep your compost covered. Using an old piece of carpet is a good alternative if your bin doesn’t come with a lid.
- Allowing air in your compost will help to minimise the smell. Remembering to aerate regularly is the best way of doing this.
Garden tip: Cutting your food scraps smaller will speed up the composting process. Try not to include twigs thicker than your finger. If you have larger sticks these are perfect to layer at the base of your bin to aid with air circulation.
Purchasing the Best Compost for Growing Vegetables
The Best Compost to Buy for Vegetable Gardens
When you’re looking for the best organic compost for vegetables or the best compost for growing vegetables in containers, it always cheaper to create your own. However, I understand that it’s not always possible to create your own multi purpose compost for the garden or you don’t have enough to get your garden beds started. So here are a few tips and recommendations when buying the best bagged compost for vegetable gardens.
- Look for compost that is dark and rich in colour with a pleasant earth odour. Some brands include a lot of woody material which can take a lot longer to break down.
- Organic is always the best option if you have the budget, as you can be sure that no chemicals will be absorbed by your vegetable seedlings and the contents haven’t been sterilised.
- There are alternatives such as ‘mushroom compost’, ‘ peat free compost ‘, ‘ peat moss ‘ and ‘vermicast compost’. Just be aware that some of these have a much higher nitrogen content so are good in smaller doses compared to organic vegetable compost.
For a list of my top recommendations for the best organic and non-organic compost to buy, take a look at my article on the best compost to buy for vegetable gardens.
Troubleshooting Your Compost Bin
Compost is too wet: You’re aiming for a ‘damp sponge’ moisture level so if your compost is looking slimy it’s too wet. Add more carbon-rich materials (brown) such as twigs, dry leaves or torn paper.
Compost is too dry: Add more nitrogen-rich material (green) and sprinkle with some more water.
Compost is smelly: This can occur in compost when there’s a lack of brown/carbon-rich material or lack of air. So add more brown material in your layers and turn your compost weekly with a spade or fork to loosen the compost for aeration.
Rats or rodents: Be sure not to include any food products in your compost as this is the number one attraction for rodents. Also by adding grass clippings then turning your pile will increase the heat in your compost bin and discourage rats. Carbon material on the top and bottom of your bin will also help mask any tempting smells.
Final Words on the Best Compost for Growing Vegetables
Now that you know all about the best compost for Compost for Growing Vegetables, I hope you feel well equipped to go ahead and start creating your compost at home. Not only is it a fantastic way to recycle household waste, but it also returns much-needed nutrients to the soil. Free compost and happy plants; it doesn’t get much better than that!

About the Author
Elle Reed is a passionate gardener and advocate for teaching beginner gardeners how to grow their own food. Elle’s mission is to inspire and empower people to get back to basics, grow their own produce, and embrace a sustainable lifestyle. “Whether it’s a few herb pots in an apartment, a potager or a full garden plot, we can all ‘start somewhere’ to grow our own food, and in doing so, provide healthier food for ourselves and those we love”.
Inspired? Pin it!